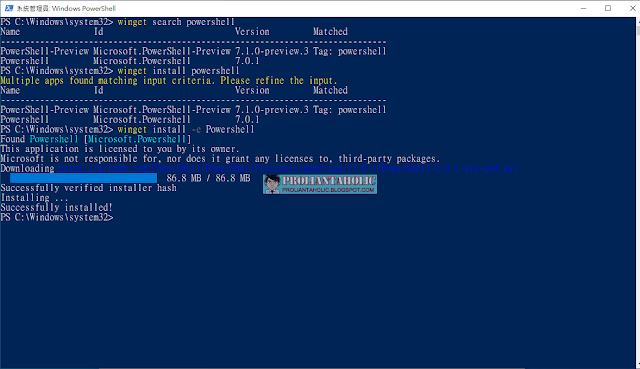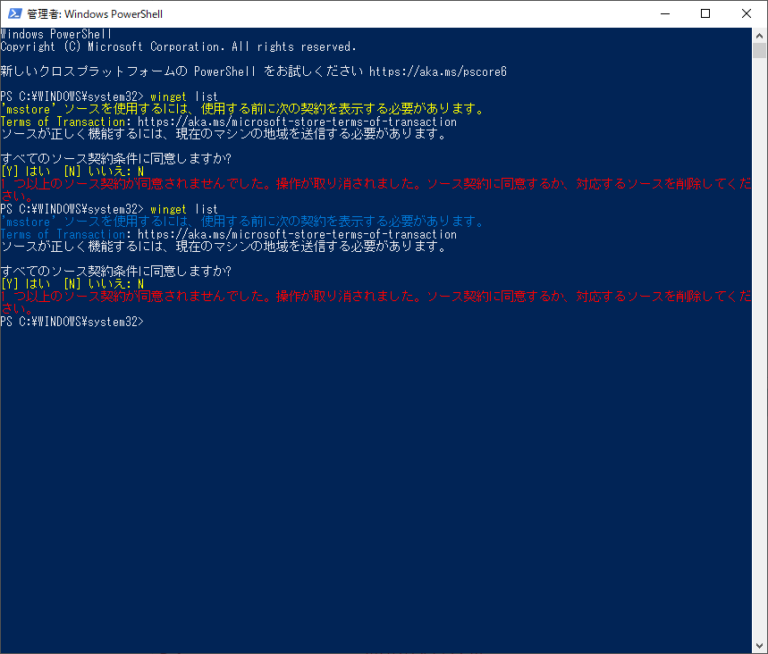

Given that winget is a PowerShell command, it uses straightforward PowerShell syntax to provide information or perform actions. Using winget starts with opening a PowerShell window with administrator permissions: press Windows key + X and then pick PowerShell (Admin) or Terminal (Admin) from the pop-up menu. (Don’t worry: if you do this on a newer Windows version it will inform you, “The App Installer is already installed.”) There, click the Latest link under “Releases” at right, and download an item named “” (the missing characters identify Microsoft Store apps). If you’re running an earlier version of Windows 10, visit the winget home page at GitHub. Please note: winget is included with Windows 10 version 1709 and later and all versions of Windows 11 as the App Installer.

In my experience, winget is helpful for checking and updating most applications that run on Windows.

Winget is designed to enable “users to discover, install, upgrade, remove and configure applications on Windows 10 and 11 computers,” according to Microsoft Learn. For those not already in the know, winget is the built-in, PowerShell-based interface to Microsoft’s Windows Package Manager service. For a little more than a year, I’ve been working with winget daily to monitor and maintain my Windows 10 and 11 PCs.


 0 kommentar(er)
